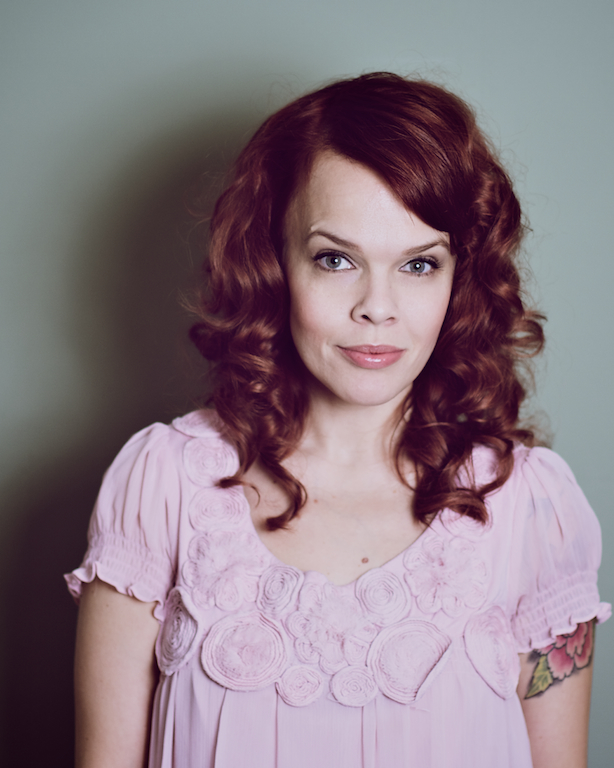
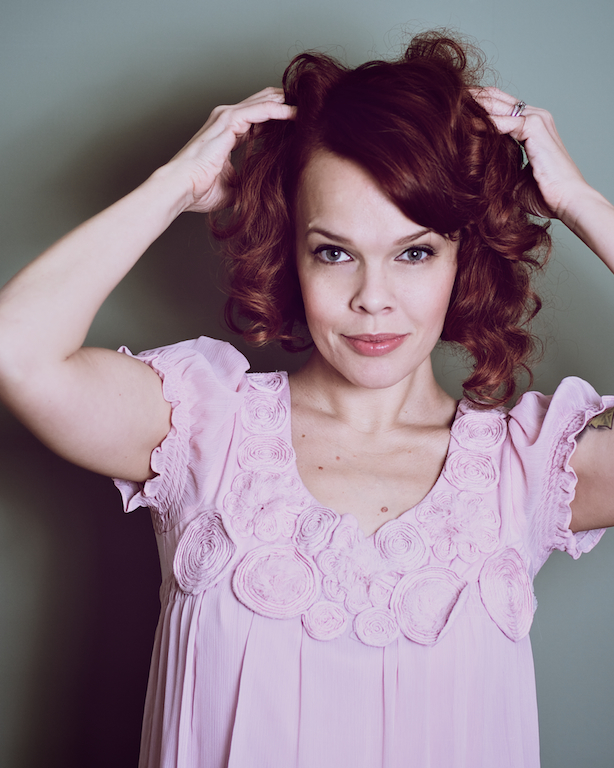
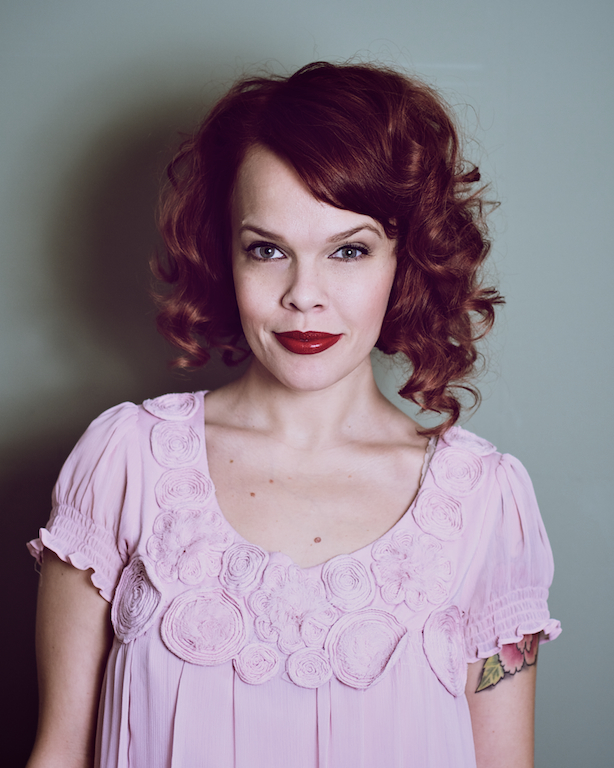
I am sitting, and it feels awesome. And as I listen to the squirrel who is scurrying above me, I bring you another hair tutorial.
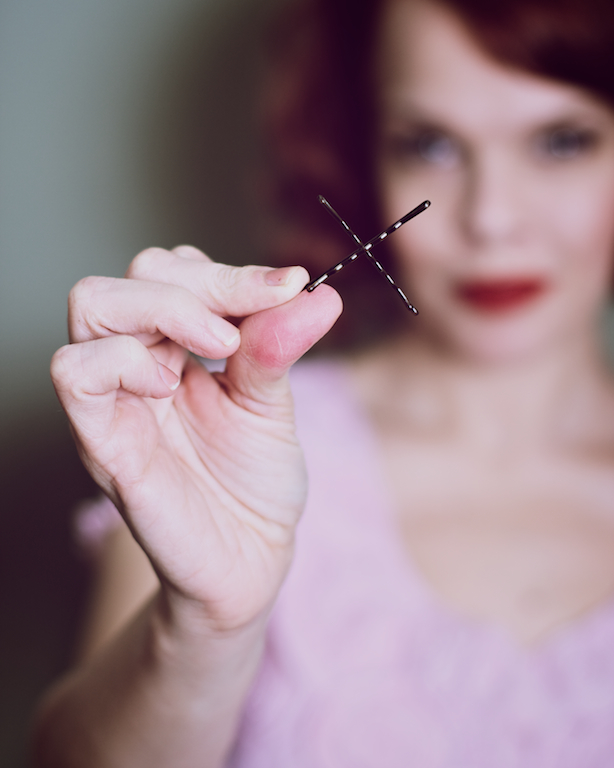
First, I would like to show you that if you are using that pack of Goody's bobby pins you can get at the grocery store (the one where they are all clamped on in a line up the side of some card stock), you are not helping yourself in the updo process. Go to Sally's, and invest in some high-quality bobby pins. They are stronger, and hold your hair without bending open. The second photo is how you lock a pin in place. Place one pin into the base of whatever you are pinning, and while holding that pin, slide the other one over it in an "x" (hiding both pins under your hair). These two tips will help immensely.
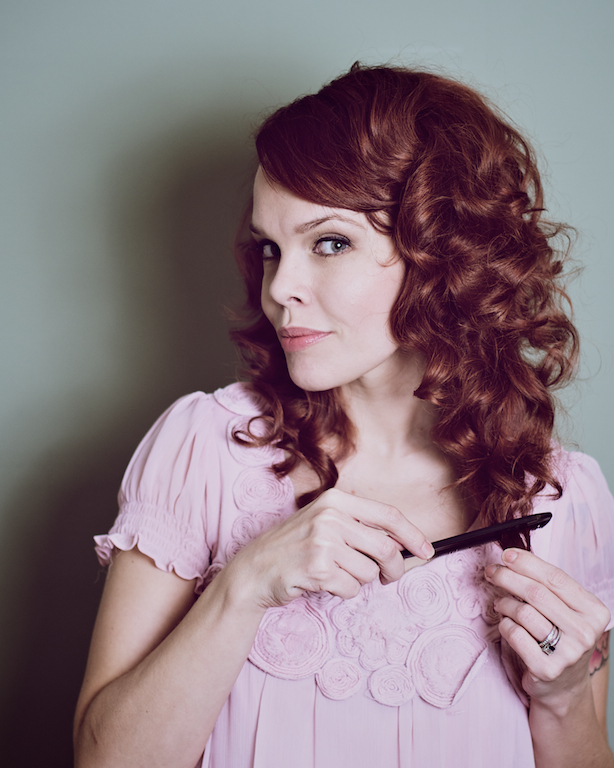
Now, for this "do," I curled my hair on a 3/4" barrel iron toward my face (toward=vintage inspired, back=more modern). Below is my favorite iron in the world, but if you invest in this, get the 1".
The next step is to arrange your curls. I brush through mine, and then using a comb and my fingers, I place the curls where I want them to go. Sometimes I even backcomb two curls together.
Do the same to the other side, and then the back. My hair is layered pretty heavily on top, so I was able to do it in just two sections.
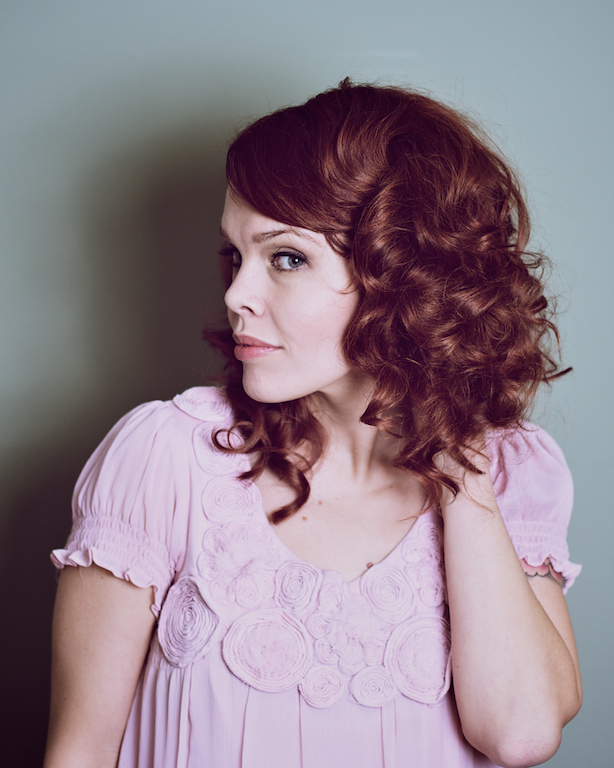
Next, maneuver the curls around. Backcomb a few curls together, spray the side back, and please do check out the way the back looks. I decided to leave the front a bit longer, but in the past I have backcombed those curls up tighter, or even rolled more under to make it look overall shorter.
Put on some bright lipstick and... voila!
I also did this here...
The key to this look is to arrange the hair on top to cover the underneath. You don't want it to look like all of your hair is rolled up under there.
So there you have it. Play. Have fun. And get your beauty sleep. Love y'all!


